

Knowledge Centre · Artwork & Design
Artwork File Requirements for Printing
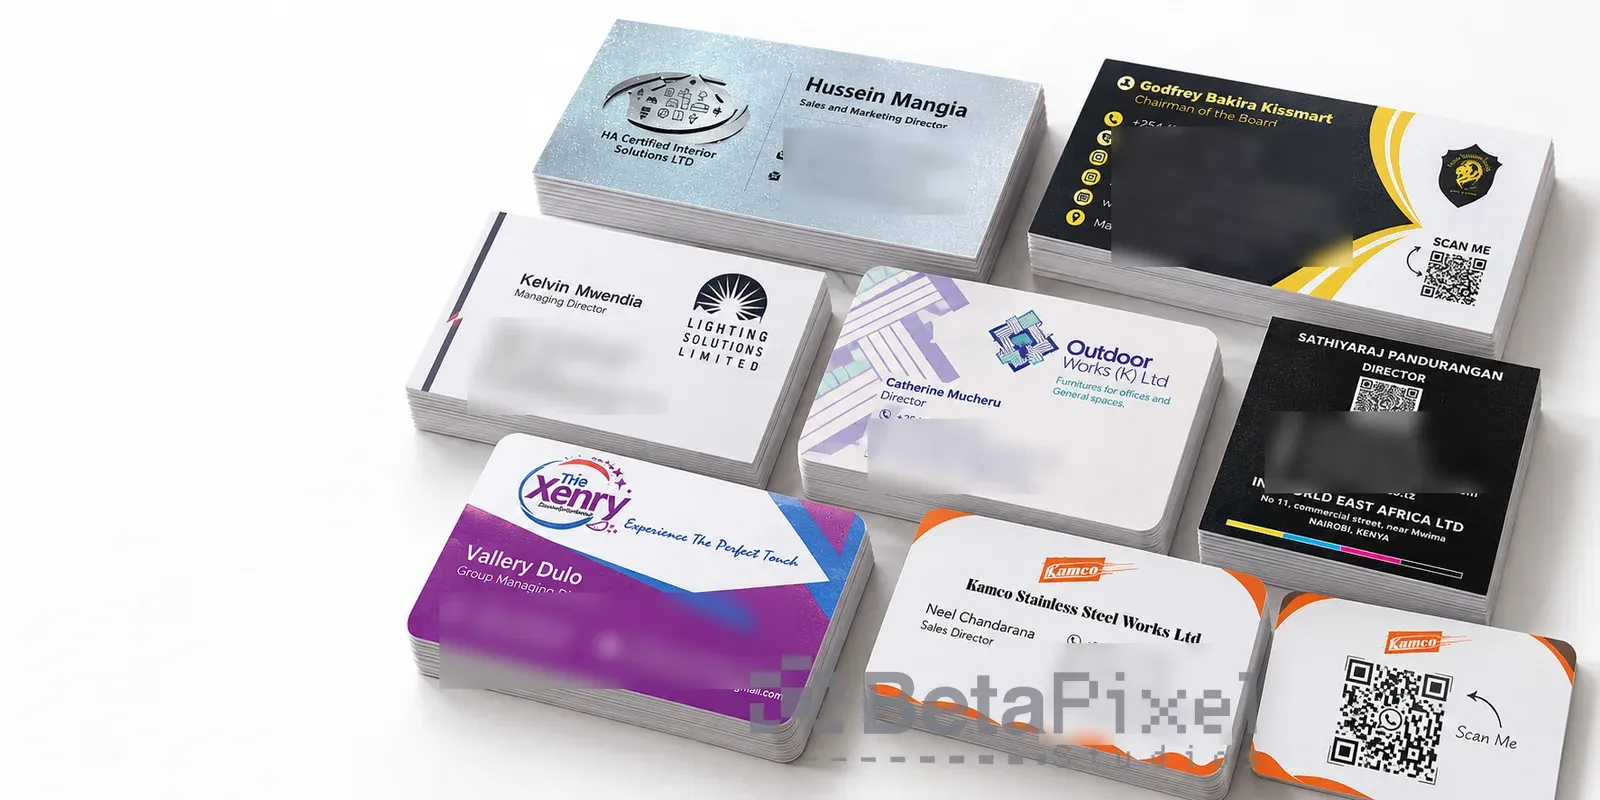
Most delays in printing are not caused by the printer. They are caused by a file that looked fine on screen but cannot print cleanly: a logo saved from WhatsApp, a flyer with text touching the edge, or a design in bright screen colours that no ink can reproduce. This checklist covers what a print-ready file needs, and why.
1. Vector or Raster?
Vector files (AI, EPS, SVG, and most PDFs from design software) describe shapes mathematically. They can be scaled to any size — a pen or a building — without losing sharpness. Logos, text and illustrations should always be vector where possible.
Raster files (PNG, JPEG, TIFF) are grids of pixels. They have a fixed amount of detail. Enlarge them beyond that and edges go soft or blocky. Photographs are always raster.
Rule: send logos as vectors; send photographs as high-resolution raster files.
2. Resolution: 300 dpi at the Printed Size
For raster images, what matters is how many pixels you have at the size it will be printed.
- 300 dpi (dots per inch) at final size for anything viewed up close: flyers, labels, stickers, magic stickers, books.
- 150 dpi at final size for roll-up banners and posters viewed from a metre or two.
- 72–100 dpi at final size for large banners viewed from several metres.
To check: divide the image’s pixel width by the printed width in inches. A 3,000-pixel-wide image printed 250 mm (about 10 inches) wide gives 300 dpi. Printed 500 mm wide, it drops to 150 dpi.
Images saved from social media and WhatsApp are compressed and usually far too small. Ask for the original file.
3. Bleed and Safe Zone
Paper is trimmed after printing, and trimming is never accurate to the exact millimetre.
- Bleed: extend any colour or image that touches the edge 3 mm beyond the trim line on every side. Without bleed, a thin white line can appear at the edge.
- Safe zone: keep text and important elements at least 5 mm inside the trim line.
- Large format uses bigger margins: about 20 mm bleed on banners, and extra at the bottom of a roll-up, which disappears into the base.
4. Colour: CMYK, and Pantone for Exact Matches
Screens mix red, green and blue light (RGB). Printers mix cyan, magenta, yellow and black ink (CMYK). Some bright RGB colours (electric blue, neon green, vivid orange) cannot be reproduced in CMYK and will print duller.
- Design in CMYK from the start for print work.
- If a brand colour must match exactly, give a Pantone reference. It can be matched as a spot colour on offset, or as closely as possible on digital.
- For large areas of black, use rich black (60/40/40/100); for small black text, use 100% black only so the text stays sharp.
5. Fonts
Either embed fonts in the PDF or convert text to outlines. If you send a design file with fonts that are not installed on the printer’s computer, the software substitutes another font and the layout changes.
6. Minimum Sizes
| Output | Minimum line weight | Minimum text size |
|---|---|---|
| Flyers, brochures, books | 0.25 pt | 6 pt |
| Labels | 0.5 pt | 6 pt |
| Contour-cut stickers | 0.5 mm | 7 pt; 2 mm from the cut line |
| UV DTF magic stickers | 1.5 mm | 8 pt |
| DTF on garments | 1 mm | 8 pt |
| Roll-up banners | n/a | 60 pt for body text |
Magic stickers and garment prints need thicker lines because very thin details do not transfer reliably from the film.
7. Transparency and Effects
Soft shadows, glows and semi-transparent layers can print unpredictably, especially on transfers and garments where a white base prints under the colours. Flatten effects, or ask the printer how they will be handled.
8. Special Layers
Some processes need extra information in the file:
- White ink on clear film, glass or dark items: which areas print white, and which stay see-through.
- Cut contours for stickers and labels: a separate path, usually named “CutContour”.
- Spot varnish or foil: a separate layer showing exactly where it goes.
If you do not know how to prepare these, tell the printer what you want and let them build the layer.
Formats We Accept
- Best: PDF (print-ready, with bleed), AI, EPS, SVG.
- Good: PNG or TIFF at 300 dpi at final size, with a transparent background for logos.
- Workable with checks: Word, PowerPoint and Canva exports. We convert them and send a proof.
- Usually not printable: screenshots, WhatsApp images, logos copied from websites.
Do Not Have a Print-Ready File?
That is common, and it is fixable. Our graphic design team redraws logos as vectors, adds bleed, converts colours and prepares cut lines, priced up front as a separate line. Whatever you are printing, from labels to roll-up banners to UV DTF magic stickers, we check every file by hand and send a proof before anything is printed.